Creating a cement-look wall can transform your space, offering the sleek, industrial look of concrete without the heavy lifting or high costs. Whether you’re aiming to update your walls, floors or furniture, a concrete texture provides an aesthetic appeal that’s both modern and versatile.
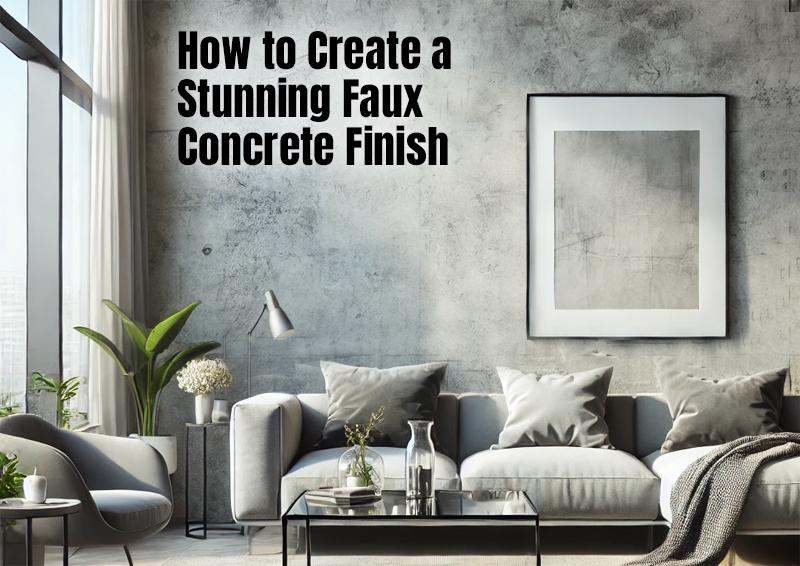
Here’s a comprehensive guide to help you master this technique, from understanding the features to following a step-by-step DIY process.
Features to Look for:
- Texture: The finish should mimic the slightly rough, varied texture of real concrete. Look for products that offer a realistic grain.
- Color Variations: True concrete has natural color variations. Seek materials that allow you to replicate these subtle differences.
- Matte Sheen: Concrete is typically matte, so avoid high-gloss coatings to keep the look authentic.
- Durability: Especially for high-traffic areas, ensure the overlay is durable and can withstand wear and tear.


Types of Concrete-Style Finishes:
There are several methods to replicate cement, each offering a unique look and feel:
- Paint and Primer Method: Use a combination of paint and primer to create a concrete-like surface. This method is great for beginners.
- Plaster Technique: Applying a layer of plaster can give a more textured, authentic concrete appearance.
- Wallpaper: Concrete-effect wallpaper is a quick and easy way to get the look without any mess.
- Microcement: A more advanced technique, microcement provides a durable and realistic concrete finish, suitable for floors and countertops.
Pros and Cons: Faux vs. Real Concrete
Pros of Faux Finish:
- Cost-Effective: Faux textures are generally cheaper than real concrete.
- Ease of Application: Most overlays can be applied without specialized tools or skills.
- Flexibility: Ideal for DIY projects, allowing you to transform various surfaces.
- Weight: No additional structural support needed, as you would with real concrete.
Cons:
- Durability: May not be as durable as real concrete, especially in high-traffic areas.
- Realism: While high-quality faux treatments can be very convincing, they may lack the depth and feel of real concrete.
- Maintenance: Some applications might require more frequent touch-ups.
DIY Guide to Applying Faux Concrete:
Materials Needed
- Primer
- Base coat paint (gray or desired concrete color)
- Topcoat paint (slightly lighter or darker shade)
- Paint rollers and brushes
- Sponges or rags
- Painter’s tape
- Drop cloths
- Optional: plaster or microcement for advanced techniques
Step-by-Step Instructions
- Prepare the Surface: Clean and sand the surface to ensure it’s smooth and free of debris. Apply painter’s tape to protect adjacent areas.
- Apply Primer: Start with a high-quality primer suitable for your surface. This ensures better paint adhesion and durability.
- Base Coat: Apply the base coat using a paint roller. This will be your primary cement color. Allow it to dry completely.
- Create Texture: Using a sponge or rag, dab the topcoat paint onto the surface. Blend in circular motions to mimic the natural variations of concrete. For a more textured look, consider using a plaster technique at this stage.
- Add Depth: Apply a second layer of texture using a slightly different shade of paint. This adds depth and realism to the surface.
- Final Touches: Once dry, remove the painter’s tape and touch up any areas as needed. For added durability, consider applying a flat sealant.
Cost Breakdown
- Paint and Primer: $50 – $100 for a standard room.
- Plaster: $75 – $150, depending on the quality of plaster.
- Wallpaper: $100 – $200 per roll, covering approximately 50 square feet.
- Microcement: $200 – $500 for professional-grade materials, ideal for larger projects.
The Bottom Line:
Faux concrete offers a chic, modern look without the expense and effort of real concrete. With various techniques and materials, you can customize it to suit your style. Follow this guide to transform your space with a stunning, practical finish.
Last Updated June 25, 2024